
KineMaster

KineMaster vs CapCut: Which Video Editor Has More Features?
Video editing is now easier than ever. Many mobile apps offer powerful tools for creating professional videos. Two popular choices are KineMaster and CapCut. Both apps support beginners and experienced creators.
KineMaster focuses on detailed editing controls and a traditional timeline experience. CapCut offers many quick editing tools, templates, effects, and social-media features.
This guide compares their features, editing tools, effects, performance, and ease of use. It will help you understand how KineMaster compares with CapCut.
KineMaster vs CapCut: Basic Overview
Both apps help users edit videos directly on smartphones. They support common editing tasks such as trimming, splitting, adding music, inserting text, and applying effects.
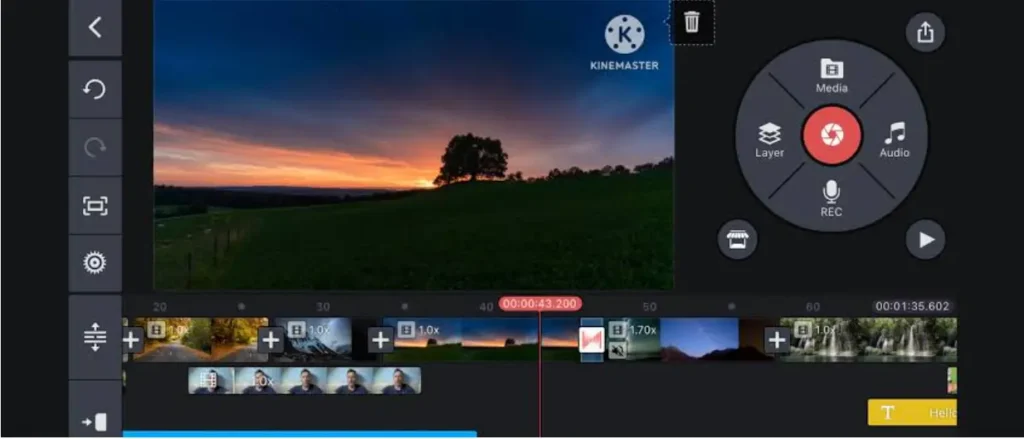
KineMaster gives users more control over individual layers and editing elements. It uses a multi-layer timeline that makes detailed editing easier.
CapCut focuses strongly on quick editing. It includes templates and automated features that can help users create videos faster.
Main Differences
| Feature | KineMaster | CapCut |
|---|---|---|
| Multi-layer editing | Yes | Yes |
| Text tools | Advanced | Advanced |
| Effects | Large selection | Large selection |
| Templates | Available | Strong template focus |
| Keyframe tools | Yes | Yes |
| Audio editing | Yes | Yes |
| Speed control | Yes | Yes |
| Social media tools | Good | Strong |
The best option depends on your editing style. KineMaster suits users who want detailed control, while CapCut suits users who prefer fast editing and ready-made creative tools.
KineMaster vs CapCut: Editing Tools
Editing tools are the most important part of any video editor. Both apps provide basic tools for cutting and arranging clips. They also offer advanced options for creators who want more control.
With KineMaster, users can work with multiple video, image, text, and audio layers. This makes it easier to build complex video projects.
CapCut also provides a flexible timeline. Users can add clips, adjust their position, change speed, and apply transitions.
Important Editing Features
Both apps offer tools such as:
- Trim and split
- Crop and rotate
- Video speed control
- Transitions
- Text and stickers
- Audio controls
- Keyframe animation
- Layer-based editing
- Filters and visual effects
KineMaster provides a familiar editing workflow. Users can select individual layers and make detailed adjustments. CapCut adds many automated tools that reduce manual editing work.
KineMaster vs CapCut: Effects and Filters
Effects can change the look and feel of a video. They can also make short-form content more attractive. Both apps provide many visual effects and filters.
KineMaster includes options for adjusting the appearance of clips. Users can combine effects with layers to create custom results.
CapCut is also known for its large collection of effects and trending styles. Its effects often target short-form social media content.
Creative Options
You can use effects for:
- YouTube videos
- Instagram Reels
- TikTok-style videos
- Shorts
- Travel videos
- Gaming content
- Product videos
KineMaster gives creators more manual control over how effects work with other layers. CapCut focuses more on quick creative results and popular visual styles.
KineMaster vs CapCut: Text and Animation Features
Text is useful for titles, captions, subtitles, and social media videos. Both editors provide text tools and animation options.
With KineMaster, users can place text on separate layers. They can adjust the position, size, style, and timing of text.
CapCut provides text templates and animation effects. These tools can help users create modern captions quickly.
Text Editing Options
Common options include:
- Text overlays
- Animated text
- Different fonts
- Text positioning
- Color adjustments
- Caption effects
- Timing controls
KineMaster works well when you want to manually control text placement and timing. CapCut can save time when you want ready-made text styles.
KineMaster vs CapCut: Audio and Music Tools
Good audio can improve the quality of a video. Both editors allow users to add music, sound effects, and voice recordings.
KineMaster provides audio controls inside its timeline. Users can place audio tracks alongside video layers and adjust their timing.
CapCut also offers music and sound tools. It provides features designed for short-form content and quick audio synchronization.
Audio Features
You can use:
- Background music
- Sound effects
- Voice recordings
- Audio trimming
- Volume adjustment
- Multiple audio tracks
- Audio synchronization
KineMaster gives users a detailed timeline for arranging audio. CapCut provides a faster workflow for creators who want to match audio with short videos.
KineMaster vs CapCut: Templates and AI Features
Modern video editors now include automated features. These tools can reduce editing time and help beginners create content faster.
KineMaster focuses more on hands-on editing. It gives creators control over individual elements instead of depending heavily on templates.
CapCut places more emphasis on templates and automated creative tools. Users can start with an existing design and replace the content with their own clips.
Why Templates Matter
Templates can help when you need to:
- Create videos quickly
- Follow popular editing styles
- Make social media content
- Add transitions easily
- Build short promotional videos
KineMaster is useful for creators who want to build a project from scratch. CapCut can be useful for users who want a faster template-based workflow.
KineMaster vs CapCut: Performance and Ease of Use
Performance depends on the phone, project size, video resolution, and number of effects. A powerful smartphone can usually handle larger projects more smoothly.
KineMaster provides a structured editing interface. New users may need some time to learn its layer-based workflow.
CapCut has a beginner-friendly interface. Many tools are easy to find, which can make the first editing experience simpler.
Which Interface Is Easier?
For beginners, CapCut may feel familiar because of its simple layout and templates. KineMaster may take more time to learn, but its detailed controls can benefit users who want deeper editing options.
Both apps can work well for everyday mobile video editing.
KineMaster vs CapCut: Export and Sharing
Export quality matters when you create videos for YouTube, Instagram, or other platforms. Both apps support high-quality video export options, although available settings can depend on the app version and device.
KineMaster provides export controls that let users choose suitable video settings for their projects.
CapCut also provides different export options and makes it easy to prepare videos for social platforms.
Common Export Considerations
Before exporting, check:
- Resolution
- Frame rate
- File size
- Video format
- Watermark conditions
- Device storage
KineMaster can suit creators who want to manage their project settings carefully. CapCut provides a straightforward export process for many social media projects.
KineMaster vs CapCut: Which One Should You Choose?
There is no single editor that works best for every creator. Your choice depends on the type of content you make and how much control you need.
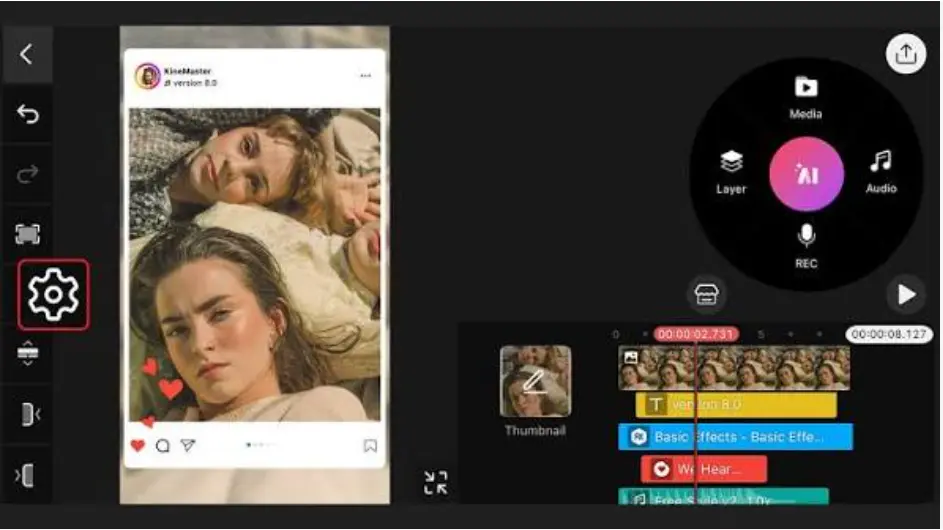
KineMaster is a strong choice for users who prefer detailed timeline editing, multiple layers, and manual control.
CapCut can be a good fit for users who want templates, quick effects, automated tools, and social-media-focused editing.
Choose Based on Your Needs
Choose KineMaster if you want:
- Detailed layer editing
- Manual control
- Advanced timeline work
- Custom video projects
- Flexible editing tools
Choose CapCut if you want:
- Quick editing
- Ready-made templates
- Trend-focused effects
- Fast social media content
- Simple editing workflows
Your editing experience and content goals should guide your choice.
Final Verdict: KineMaster vs CapCut
Both apps offer powerful mobile video editing features. They simply approach editing in different ways.
KineMaster focuses on control, layers, and detailed editing. CapCut focuses on speed, templates, effects, and automated creative features.
If you enjoy building videos manually and controlling each element, KineMaster can be a suitable option. If you prefer fast editing and ready-made creative tools, CapCut may fit your workflow better.
The best way to choose is to try the features that matter most for your content. Consider your editing style, device, project requirements, and preferred workflow before making your decision.
2 thoughts on “KineMaster vs CapCut: Which Video Editor Has More Features?”